-
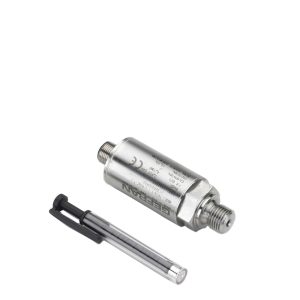
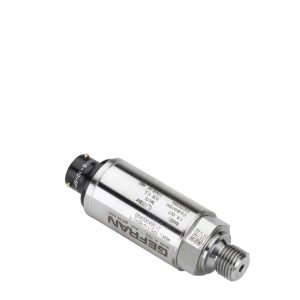
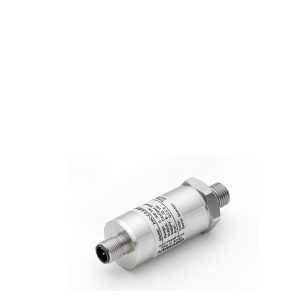
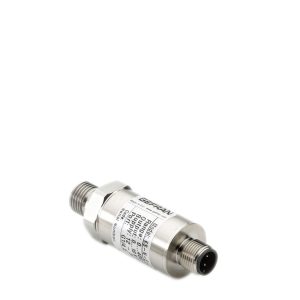 Features • Ranges: from 1 to 1000 bar • Nominal Output Signal: 4...20mA (2 wires) 0...10Vdc / 0.1...5.1Vdc / 0.1...10.1Vdc / 0...5Vdc / 1...5Vdc / 1...6Vdc / 1...10Vdc / 0.2...10.2Vdc (3 wires) 0.5...4.5Vdc (3 wires - ratiometric) • Compact size • Wetted parts: Stainless steel • SIL 2 certified according to IEC/EN 62061:2005
 -
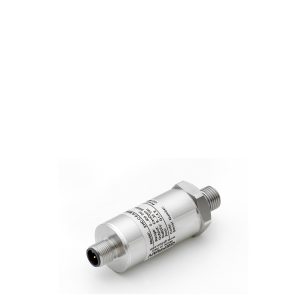
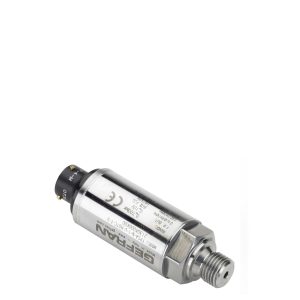
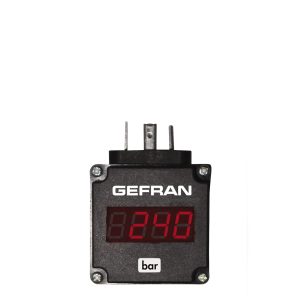
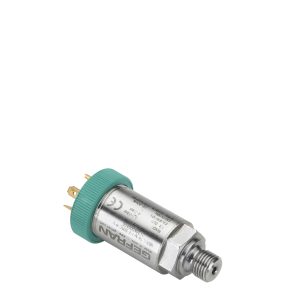 Features • Ranges: from 0...3 to 0...1000 bar and ranges from -1...+1 to -1...+10 bar • Output signal 4...20mA 2-wires / 0.1...5.1Vdc /0.1...10.1Vdc / 0...5Vdc / 0...10Vdc / 1...5Vdc / 1...10Vdc • Protection rating: IP65/IP67 • Wetted parts AISI 430F and 17-4PH • Available with a variety of process connections, both standard and custom
 -
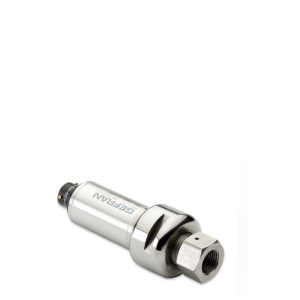
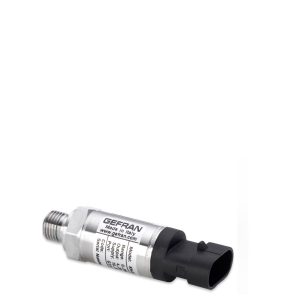
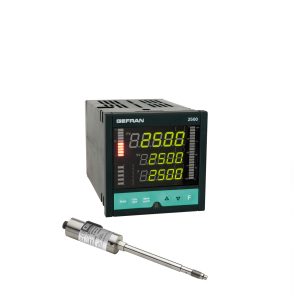
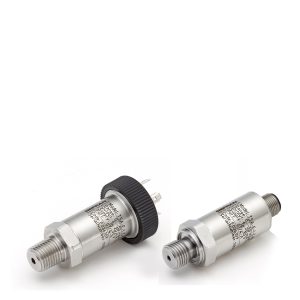 Features • Ranges: from 0...0.05 bar to 0...60 bar (0...1 to 0...1000 psi) • Complete range of voltage/current outputs • Protection rating: IP65/IP67 • Wetted parts: AISI316L • Operating temperature range -40...+85°C • Accuracy: ± 0.15% FS typical • Fill Fluid: silicone oil • Available absolute ranges • Available “Barometric” range (0.8-1.2 bar abs) • Available low ranges (50mbar and 100mbar)
 -
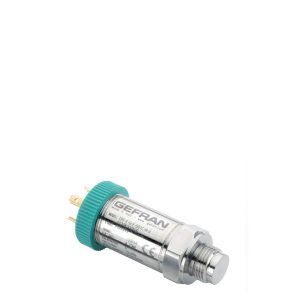
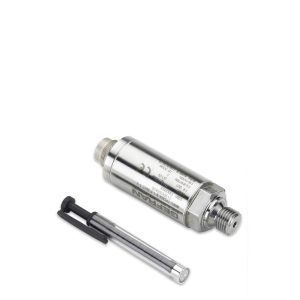
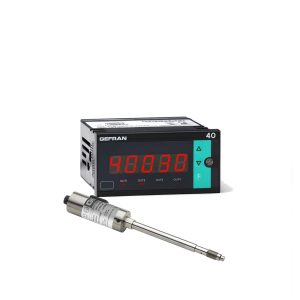
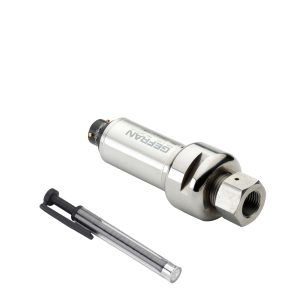 Features • Ranges: from: 0...1000 to 0...5000 bar • Output signal 4...20mA 2 wires / 0,1...5,1Vdc / 0.1...10.1Vdc / 0...5Vdc / 0...10Vdc / 1...5Vdc / 1...6Vdc / 1...10Vdc • Protection: IP65/IP67 • Wetted parts: 15-5PH / 17-4PH stainless steel • Measurement diaphragm with monolithic stainless steel structure • Digital Auto-Zero & Span function • Suitable for measuring static and dynamic pressure *
 -
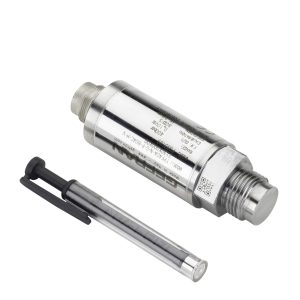 Features • Ranges: from 0...10 to 0...1000 bar • Output signal 4...20mA 2-wires / 0.1...5.1Vdc / 0.1...10.1Vdc / 0...5Vdc / 0...10Vdc / 1...5Vdc / 1...6Vdc / 1...10Vdc • Protection rating: IP65/IP67 • Wetted parts: 17-4PH Stainless Steel • Flush fitting stainless steel measuring diaphragm • Digital Autozero & Span function
 -
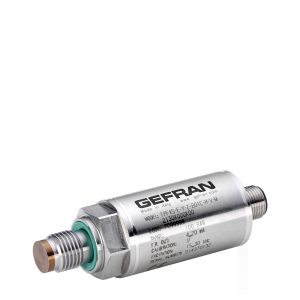 Features • Ranges: from 0...25 to 0...600 bar • Output signal 4...20mA 2-wires / 0.1...5.1Vdc / 0.1...10.1Vdc / 0...5Vdc / 0...10Vdc / 1...5Vdc / 1...6Vdc / 1...10Vdc • Protection rating: IP65/IP67 • Wetted parts: 17-4PH Stainless Steel • Miniature flush fitting stainless steel measuring diaphragm • Magnetic or External Autozero function
 -
 Features • Ranges: from 0...3 to 0...1000 bar and ranges from -1...+1 to -1...+10 bar • Output signal 4...20mA 2-wires / 0.1...5.1Vdc /0.1...10.1Vdc / 0...5Vdc / 0...10Vdc / 1...5Vdc / 1...10Vdc • Protection rating: IP65/IP67 • Wetted parts AISI 430F and 17-4PH • Available with a variety of process connections, both standard and custom
 -
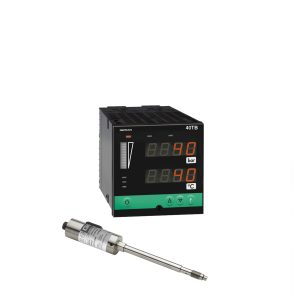
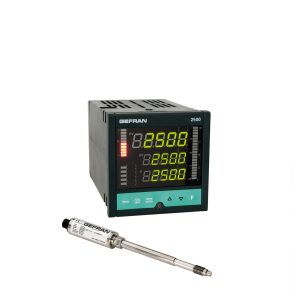
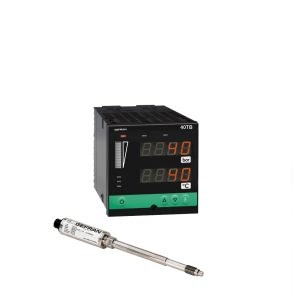
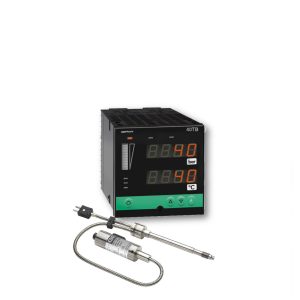 Features The M92 is a melt pressure and temperature monitoring system which comes complete with the following items: • M32-6-M-xxxx-1-4-D-000 (melt pressure transducer with type “J” thermocouple) • 40TB-10-RRR-2-0-1 (1/4 DIN pressure and temperature indicator) • C08WLS (25 foot 6-pin cable) • SF18 (mounting bracket)
 -
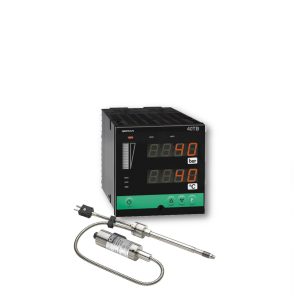 Features The W92 is a melt pressure and temperature monitoring system which comes complete with the following items: • W32-6-M-xxxx-1-4-D-000 (oil-filled melt pressure transducer with type “J” thermocouple) • 40TB-10-RRR-2-0-1 (1/4 DIN pressure and temperature indicator) • C08WLS (25 foot 6-pin cable) • SF18 (mounting bracket)
 -
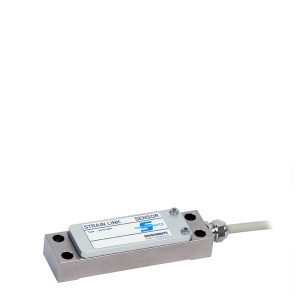
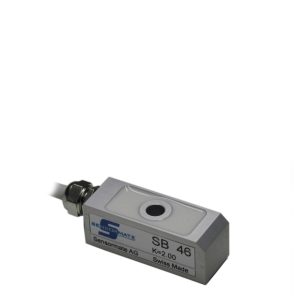 Features • Small press-on sensor with one-hole mounting • Direct measurement of surface strain • Without amplifier (passiv) • High accuracy and linearity in tension and pressure (like bonded strain gauges) • For dynamic applications • Used on presses, injection moulding and die-casting machines • Quick and easy mounting • Protected against overload • Optional accessories: - Signal amplifier VDA - Monitor DU-1D
 -
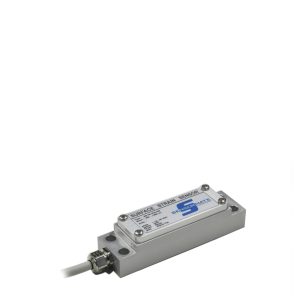 Features • Direct measurement of surface strain • With high grade variable digital amplifier • Amplifies the signal on the spot, avoiding EMC problems • High accuracy and linearity in tension and pressure (like bonded strain gauges) • For dynamic applications • Used on presses, injection moulding and die-casting machines • Quick and easy mounting • Protected against overload
 -
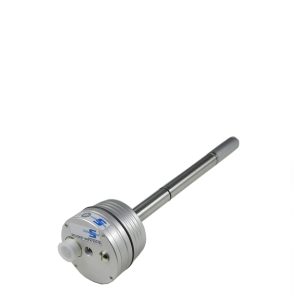 Features • Measure strain in deep holes • With calibrated digital amplifier • Quick and easy mounting with torque-wrench • High linearity on tension and compression • For dynamic applications • Used in injection moulding and die-casting machines or any cylinder • Very high accuracy (like bonded strain gauges) • Protected against overload
 -
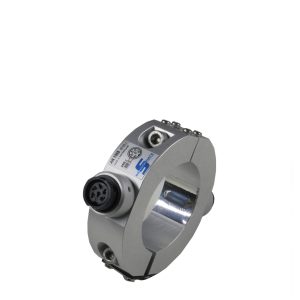
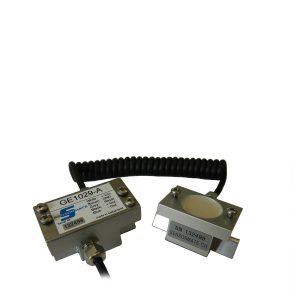 Features • Direct measurement of surface strain • With integrated digital amplifier • Quick and easy non-destructive assembly • High accuracy and linearity • Ideal for use on presses, injection-moulding and die-casting machines • One system for many different tie bar diameters (25…250mm) • Dynamic applications • Ideal for online monitoring of clamping force
 -
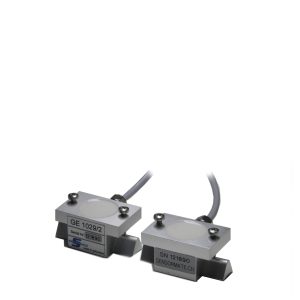 Features • Direct measurement of surface strain • Quick and easy non-destructive assembly • High accuracy and linearity in tension and pressure (like bonded strain gauges) • Ideal for use on presses, injection-moulding and die-casting machines • One system for many different tie bar diameters (25…400mm) • Dynamic applications • Without amplifier (passive) • Ideal for online monitoring of clamping force • Ideal for self-made load cells
 -
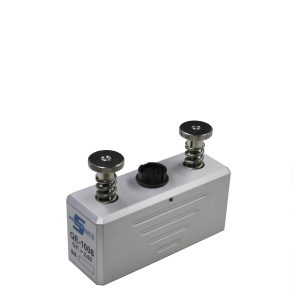 Features • Direct measurement of surface strain • Quick and non-destructive assembly with magnetic press-on technology • High accuracy and linearity in tension and pressure (like bonded strain gauges) • Ideal for use on presses, injection-moulding and die-casting machines • Application on tie bars with a diameter of 45mm or higher and flat surfaces • Dynamic applications • Without amplifier (passive)
 -
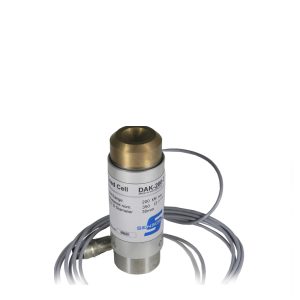 Features • Measurement of nozzle touch force (nozzle pressure force) in injection-molding and die-casting machines • User-friendly, small and compact • Force measurement range: 200kN / 450kN • Very high repeatability • Direct connection to our signal amplifiers and monitors • Various nozzle adapters can be retrofitted (e.g., brass) • Magnetic bases can be retrofitted in different sizes
 -
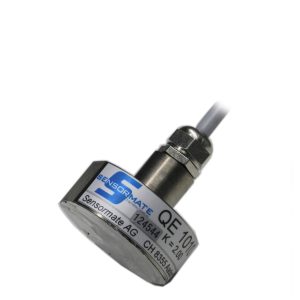 Features • Measure strain in any direction in seconds • Smallest press-on sensor with magnet mounting • Direct surface strain reading like bonded strain gages, high linearity on tension and compression • Quick and easy mounting on magnetic structures • Calibrated sensor (K=2.00) for dynamic applications • Ideal for checking FEM calculations and for stress analysis on flat steel structures • Without amplifier (passiv) • External amplifier recommended (e.g. MBA100; VDA, Monitor DU-1D
 -
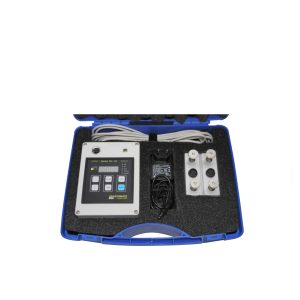 Features • Complete system for the strain-measurement on one tie bar • Direct display of strain values in µe, kN or t • Quick and non-destructive assembly with magnetic press-on technology • High accuracy and linearity in tension and pressure (like bonded strain gauges) • Ideal for use on presses, injection-moulding and die-casting machines • Application on tie bars with a diameter of 45mm or higher and flat surfaces • Dynamic applications • 1- channel digital monitor DU1D • Battery operation possible (optional) / not rechargeable • Very compact and easy to use system
 -
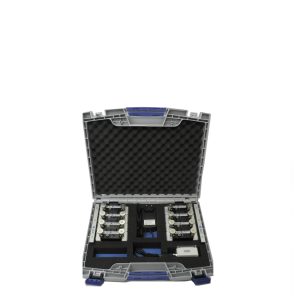
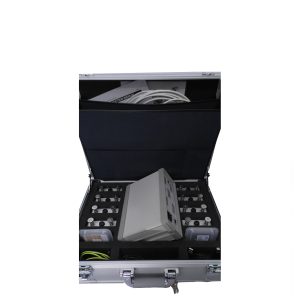 Features • Complete system for the simultaneous strain-measurement on up to four tie bars • Direct display of strain values in µe, kN or t • Quick and non-destructive assembly with magnetic press-on technology • High accuracy and linearity in tension and pressure (like bonded strain gauges) • Ideal for use on presses, injection-moulding and die-casting machines • Application on tie bars with a diameter of 45mm or higher and flat surfaces • Dynamic applications • 4- channel digital monitor DU4D • USB connection for tie bar adjustment software (optional) • Very compact and easy to use system
 -
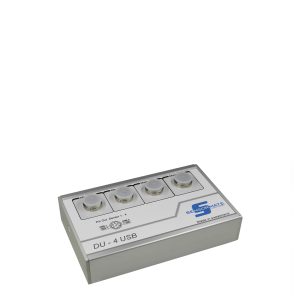
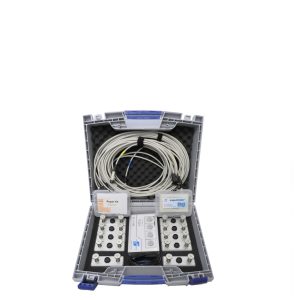 Features • Complete system for the simultaneous strain-measurement on up to four tie bars • Direct display of strain values in µe, kN or t (via our Inspectmate software) • Quick and non-destructive assembly with magnetic press-on technology • High accuracy and linearity in tension and pressure (like bonded strain gauges) • Ideal for use on presses, injection-moulding and die-casting machines • Application on tie bars with a diameter of 45mm or higher and flat surfaces • Dynamic applications • 4- channel digital monitor-box DU-4USB • USB connection for tie bar adjustment software and power supply • Very compact and easy to use system
 -
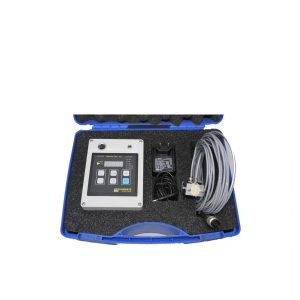 Features • Complete system for the strain-measurement on one tie bar • Direct display of the measured values in µe, kN or t • Quick and easy non-destructive assembly • High accuracy and linearity in tension and pressure (like bonded strain gauges) • Ideal for use on presses, injection-moulding and die-casting machines • One system for many different tie bar diameters (25…400mm) • Dynamic applications • 1- channel digital monitor DU1D • Ideal for self-construction load cells • Very compact and easy to use system
 -
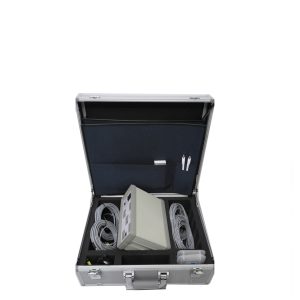 Features • Complete system for the simultaneous strain-measurement on up to four tie bars • Direct display of the measured values in µe, kN or t • Quick and easy non-destructive assembly • High accuracy and linearity in tension and pressure (like bonded strain gauges) • Ideal for use on presses, injection-moulding and die-casting machines • One system for many different tie bar diameters (25…400mm) • Dynamic applications • 4- channel digital monitor DU4D • USB connection for tie bar adjustment software (optional) • Analog output 0...10VDC (optional) • Very compact and easy to use system
 -
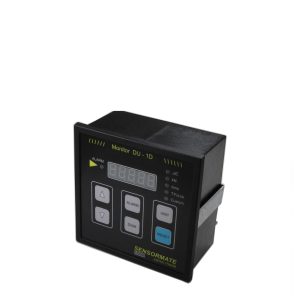 Features • Available for all Sensormate sensors (2/4 bridges) • Direct display of the measured values in µe, kN or t • High accuracy and stable reset • Automatic reset, external reset and alarm output • Ideal for control cabinet installation (96x96mm, DIN 43700) • Battery operation possible (optional) / not rechargeable
 -
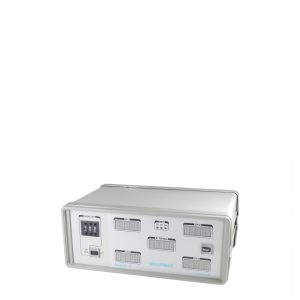 Features • Available for all Sensormate sensors (2/4 bridges) • Direct display of the measured values in µe, kN or t • High accuracy and stable reset • Very bright displays and robust aluminum housing (IP52); Ideal for rough environments • USB connection for tie bar adjustment software (optional) • Analog output 0...10VDC (optional)
 -
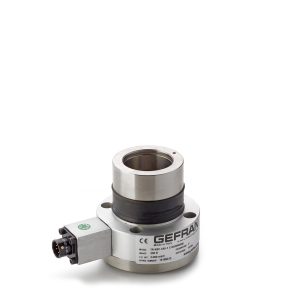 Features • Range of measurement: from 100 N to 2kN • Accuracy class: 0,5% • Corrosion resistant • Internally generated calibration signal • Orientation of the axis of maximum sensitivity for 35° independently from the position of the fixing holes • Grade of protection: IP65 (DIN 40050) • Integrated protection against overloads
 -
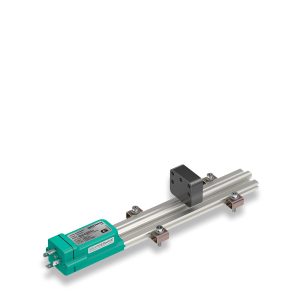 Main Characteristics • Strokes from 50 to 1500mm • Sliding or floating magnetic cursor • Direct and reverse analog output for displacement • Standard valve or M12 connector • Work temperature: -20...+75°C • IP67 protection • Power supply 24Vdc ±20% • Electromagnetic compatibility EMC 2014/30/EU • Compliant to the directive RoHS 2011/65/EU
 -
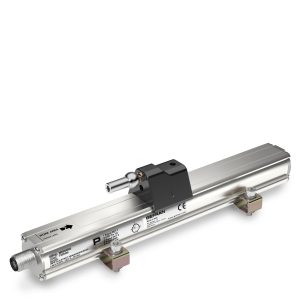 Main Characteristics • Optimised mechanical structure • Strokes from 50 to 4000mm • Sliding or floating magnetic cursor • Availability of several analogue outputs (voltage or current) for direct position and speed measurement or reverse measurement (only position) • Single or double cursors models availability • Power supply 24Vdc ±20% • Resistance to vibration (DIN IEC68T2/6 15g) • IP67 protection • Work temperature: -30...+85°C • Electromagnetic compatibility EMC 2014/30/EU • Compliant to the directive RoHS 2011/65/EU
 -
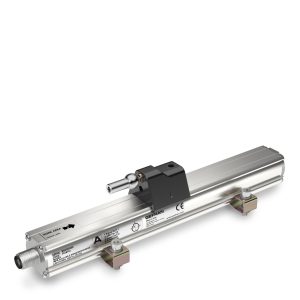 Main Characteristics • Optimised mechanical structure • Strokes from 50 to 4000mm • Sliding or floating magnetic cursor • Availability of several analogue outputs (voltage or current) for direct position and speed measurement or reverse measurement (only position) • Single or double cursors models availability • Power supply 24Vdc ±20% • Resistance to vibration (DIN IEC68T2/6 15g) • IP67 protection • Work temperature: -30...+85°C • Electromagnetic compatibility EMC 2014/30/EU • Compliant to the directive RoHS 2011/65/EU
 -
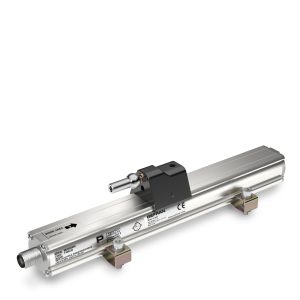 Main Characteristics • Optimised mechanical structure • Strokes from 50 to 2500 mm • Fast installation by mean of steel brackets • Sliding or floating magnetic cursor • Synchronous Serial Interface direct to controllers • Output data resolution available from 20 to 40 μm • Data format: binary or Gray code; incremental/ decremental • Power supply 10...32 Vdc • Resistance to vibration (DIN IEC68T2/6 12g) • IP67 protection • Work temperature: -30...+90°C • Electromagnetic compatibility EMC 2014/30/EU • Compliant to the directive RoHS 2011/65/EU
 -
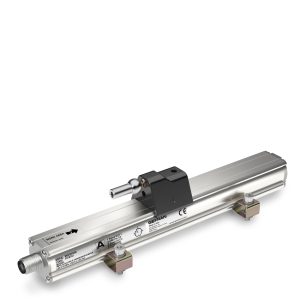 Main Characteristics • Optimised mechanical structure • Strokes from 50 to 4000 mm • Fast installation by mean of steel brackets • Sliding or floating magnetic cursor • Synchronous Serial Interface direct to controllers • Output data resolution available from 0.5 to 40 μm • Data format: binary or Gray code; incremental/ decremental • Power supply 10...32 Vdc • Resistance to vibration (DIN IEC68T2/6 15g) • IP67 protection • Work temperature: -30...+90°C • Electromagnetic compatibility EMC 2014/30/EU • Compliant to the directive RoHS 2011/65/EU
 -
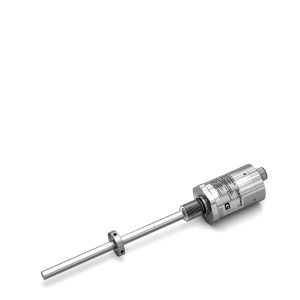 Main Characteristics • Magnetostrictive technology • Strokes from 50 to 1500 mm • Optimized mechanical structure • Rod, nipple, exagonal flange AISI 316 • Work temperature: -20....+75°C • Resistance to vibrations (DIN IEC68T2/6 12g) • Power supply 24Vdc ± 20% • Protection IP67 • Electromagnetic compatibility EMC 2014/30/EU • Compliant to the directive RoHS 2011/65/EU
 -
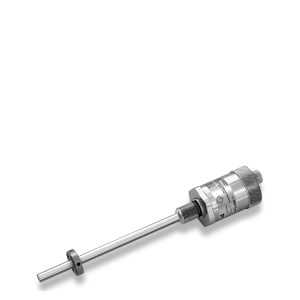 Main Characteristics • Optimized mechanical structure • Strokes from 50 to 2500 mm • Wide range of connectors for the electrical connection • Rod, nipple, exagonal flange AISI 316 • Work temperature: -30°…+75°C • Resistance to vibrations (DIN IEC68T2/6 12g) • Power supply 24Vdc ± 20% • Protection IP67 • Electromagnetic compatibility EMC 2014/30/EU • Compliant to the directive RoHS 2011/65/EU
 -
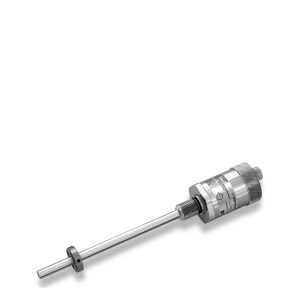 Main Characteristics • Optimized mechanical structure • Strokes from 50 to 4000 mm • Wide range of connectors for the electrical connection • Rod, nipple, exagonal flange AISI 316 • Work temperature: -30°…+85°C • Resistance to vibrations (DIN IEC68T2/6 15g) • Power supply 24Vdc ± 20% • Protection IP67 • Electromagnetic compatibility EMC 2014/30/EU • Compliant to the directive RoHS 2011/65/EU
 -
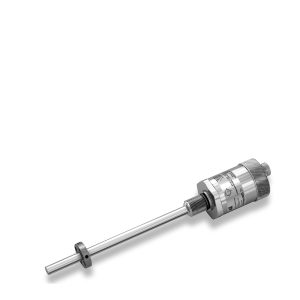 Main Characteristics • Optimized mechanical structure • Strokes from 50 to 2500 mm • Wide range of connectors for the electrical connection • Rod, nipple, exagonal flange AISI 316 • Power supply 10....32 Vdc • Resistance to vibration (DIN IEC68T2/6 12g) • Protection IP67 • Work temperature: -30°…+90°C • Synchronous Serial Interface direct to controllers • Output data resolution available from 20 to 40μm • Data format: binary or Gray code; incremental/decremental • Electromagnetic compatibility EMC 2014/30/EU • Compliant to the directive RoHS 2011/65/EU
 -
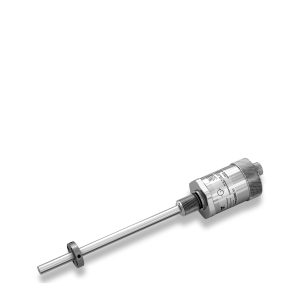 Main Characteristics • Optimized mechanical structure • Strokes from 50 to 4000 mm • Wide range of connectors for the electrical connection • Rod, nipple, exagonal flange AISI 316 • Power supply 10....32 Vdc • Resistance to vibration (DIN IEC68T2/6 15g) • Protection IP67 • Work temperature: -30°…+90°C • Synchronous Serial Interface direct to controllers • Output data resolution available from 0.5 to 40μm • Data format: binary or Gray code; incremental/decremental • Electromagnetic compatibility EMC 2014/30/EU • Compliant to the directive RoHS 2011/65/EU

